How to create disk partitions on Windows 10
After received your new laptop, how to rearrange disk space so as to meet your various demands for study and work? You may need following methods to better make use of your laptop storage.
How to check preset disk and system partition size
How to create a disk partition
How to delete a disk partition
How to extend volume for C drive
Check preset disk and system partition size
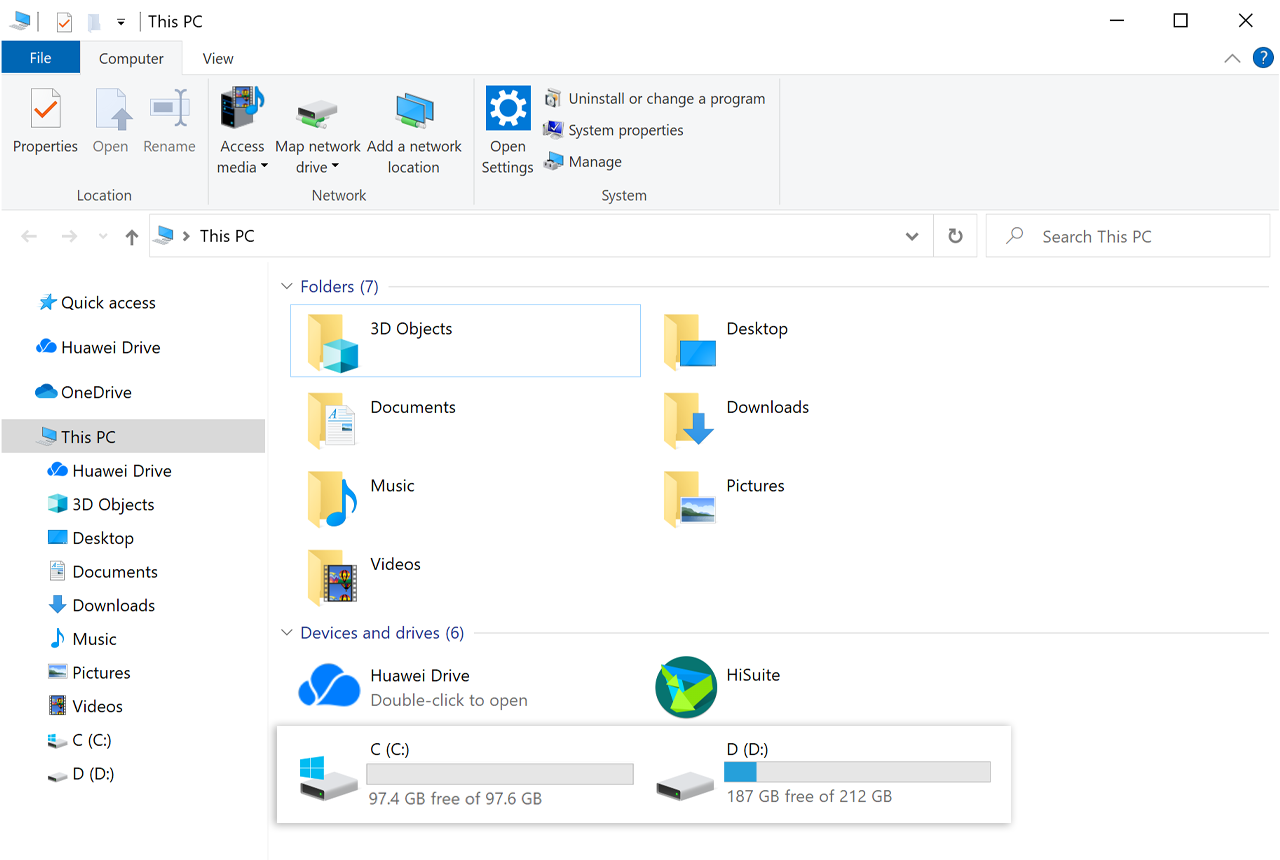
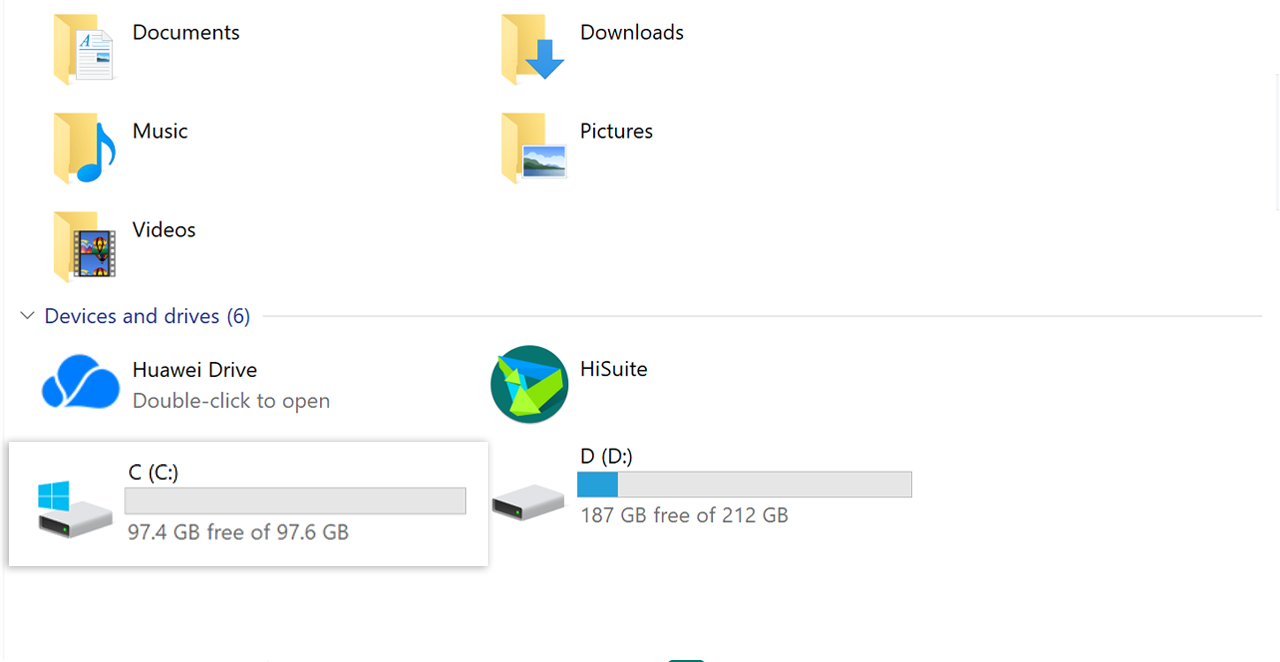
To check available space on the disk, click the File Explorer icon in the taskbar and then click This PC. View disk space under Devices and drives.
Create a disk partition
-
1. Right-click the Windows
 and click Disk Management.
-
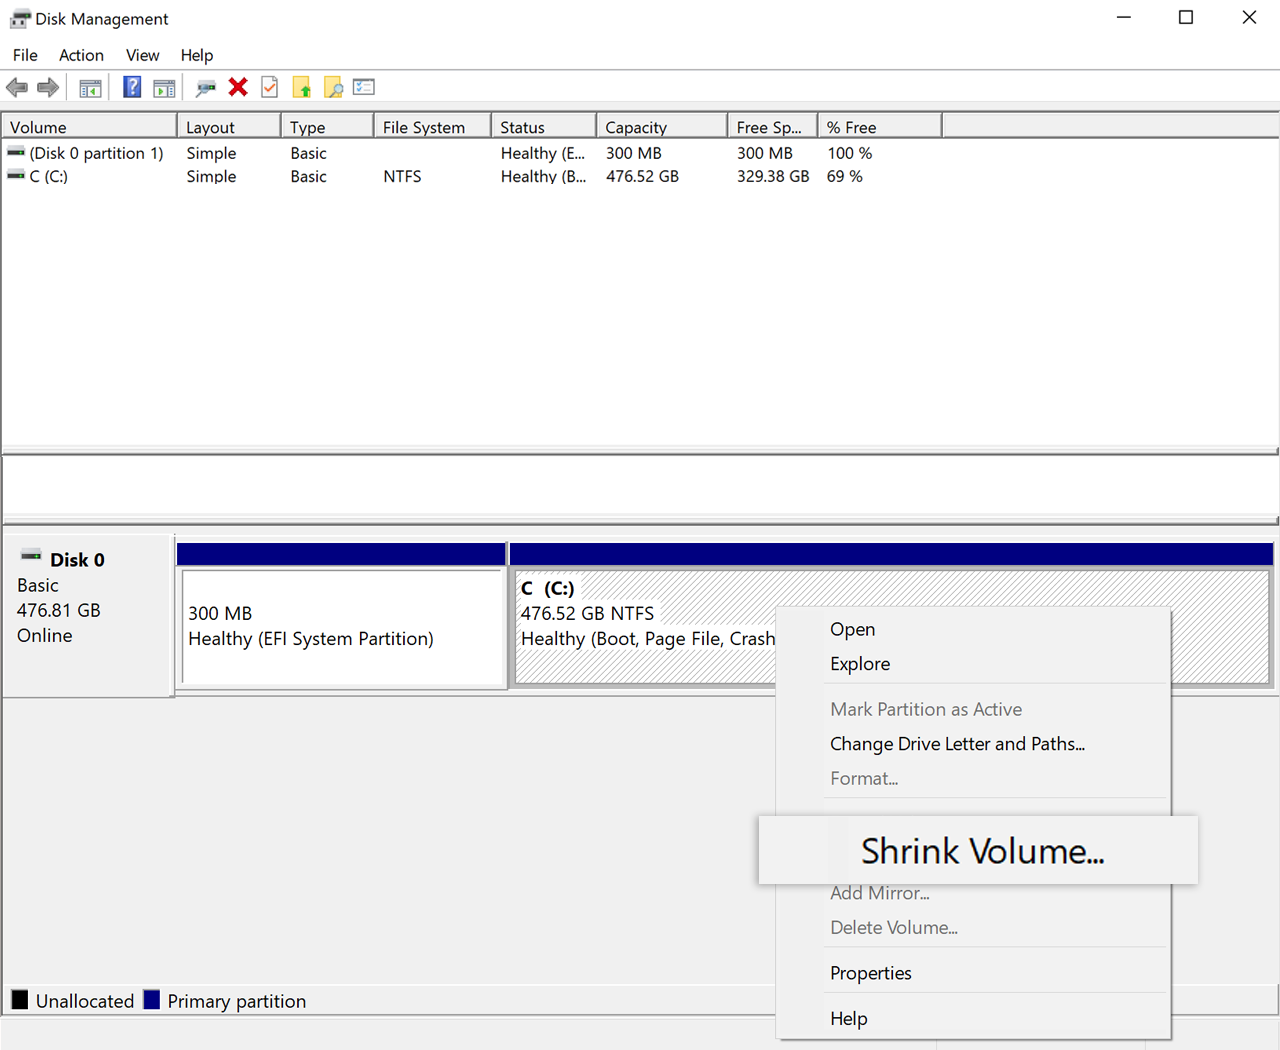
2. You are able to check disk partition. Right-click on the disk you want to partition, select Shrink Volume, and the system will automatically check for available shrink space.

-
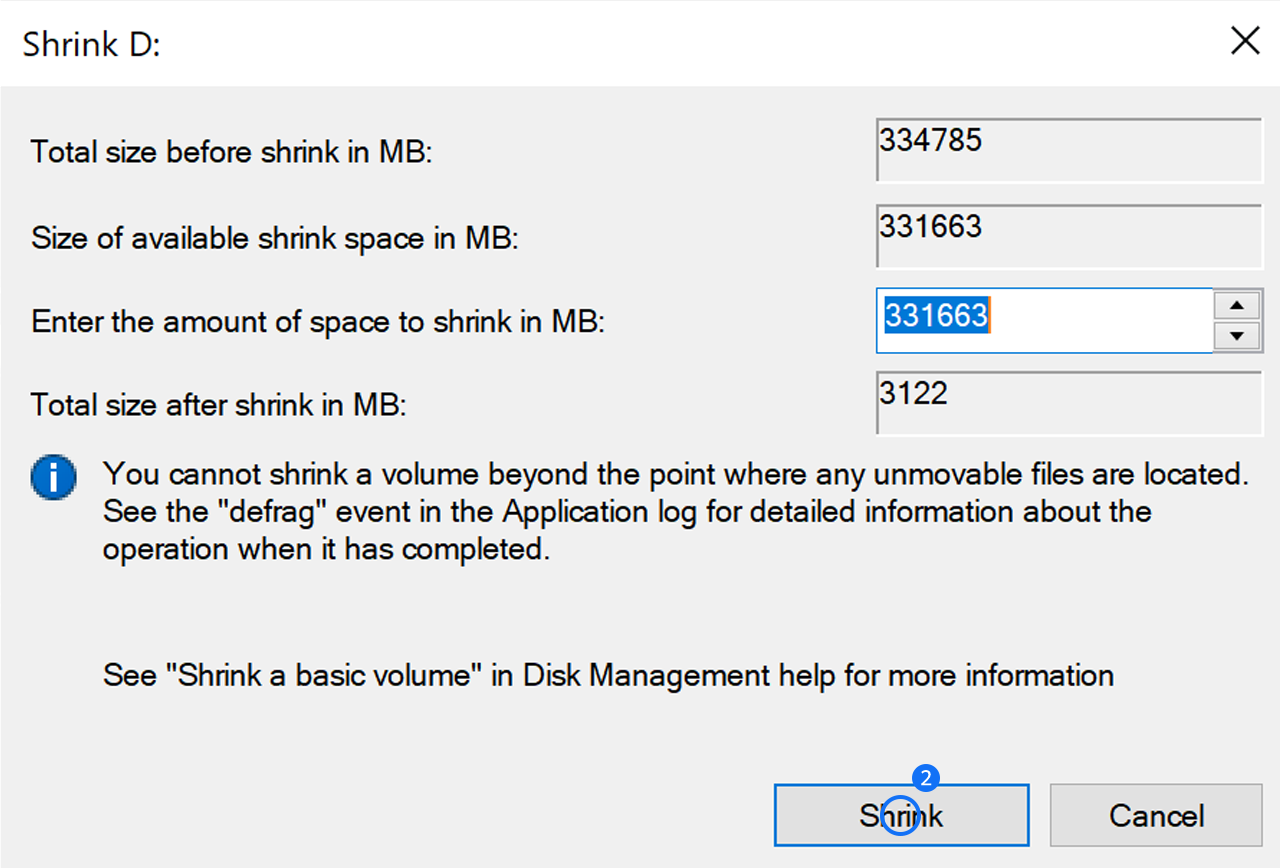
3. Enter the amount you need reduced in Enter the amount of space to shrink in MB. For example, if you want to shrink space by 10 GB, enter 10240, and then click Shrink.
-
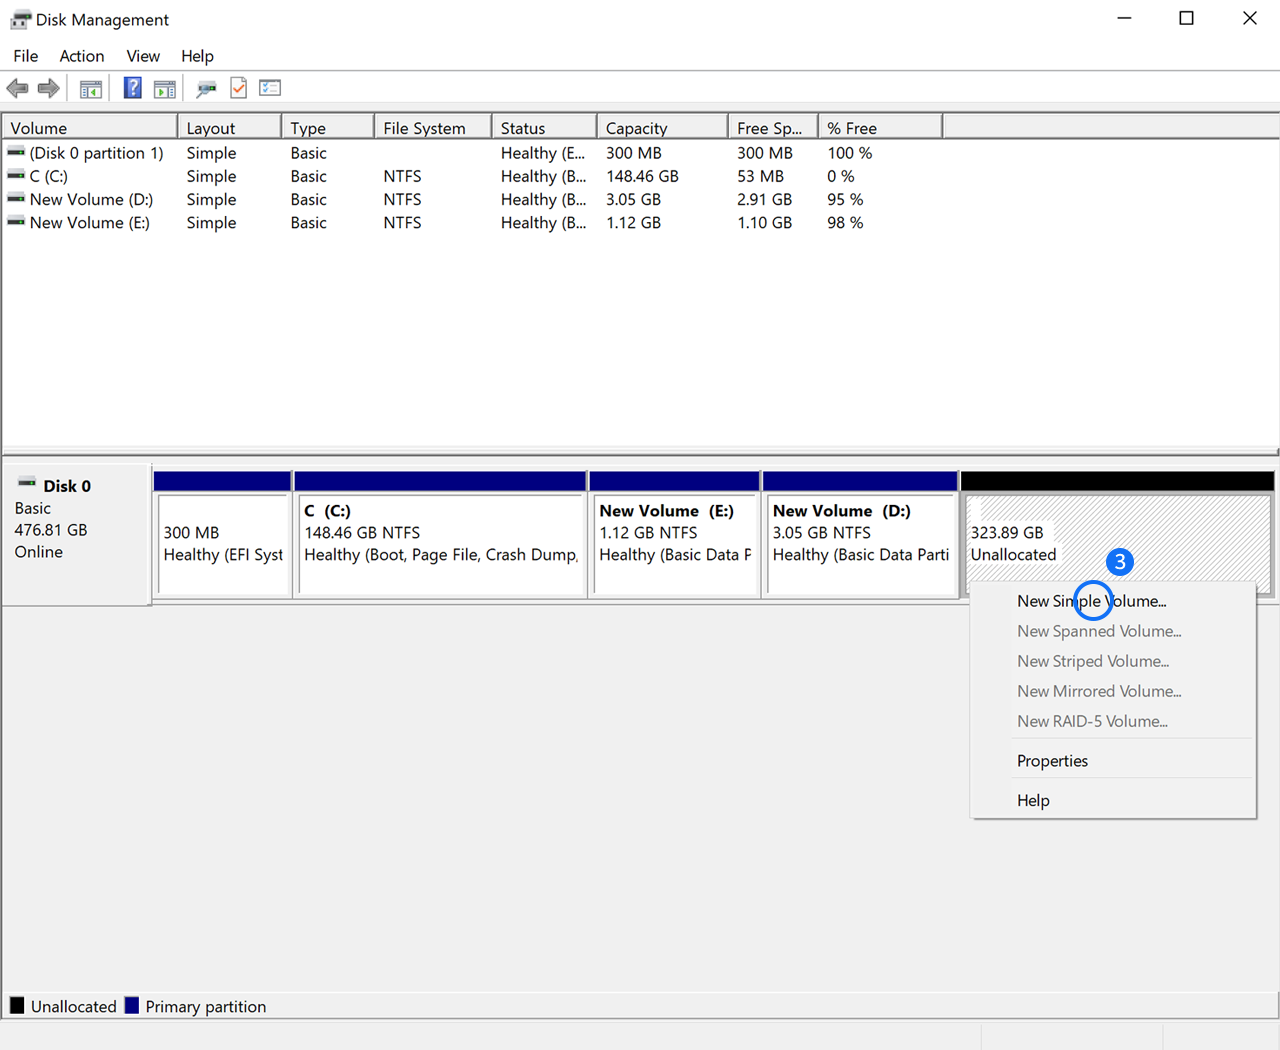
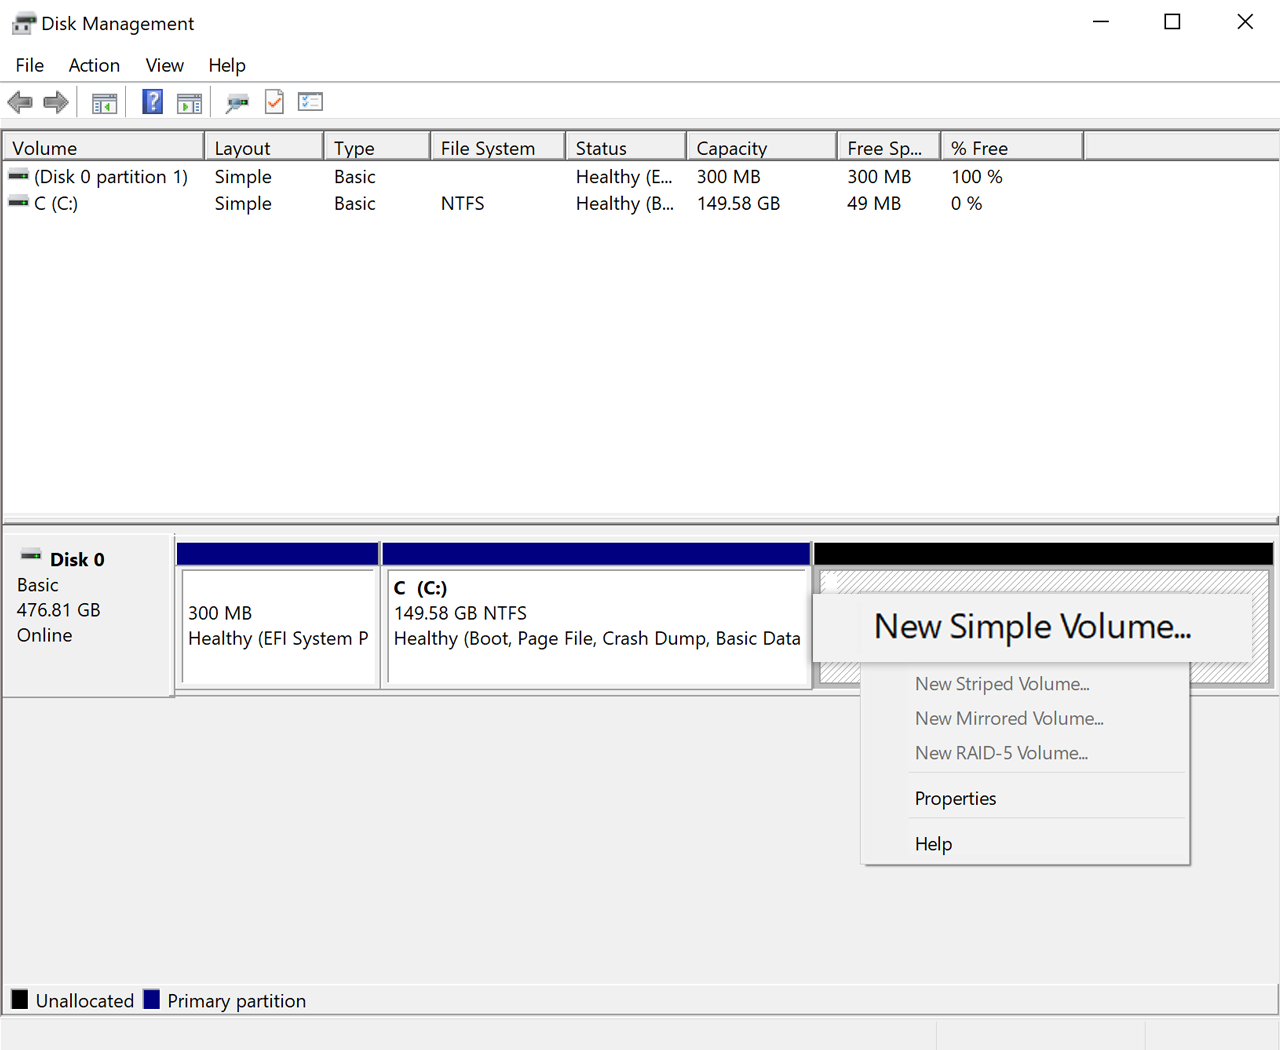
4. Right-click any blank area on Unallocated, and select New Simple Volume.
-
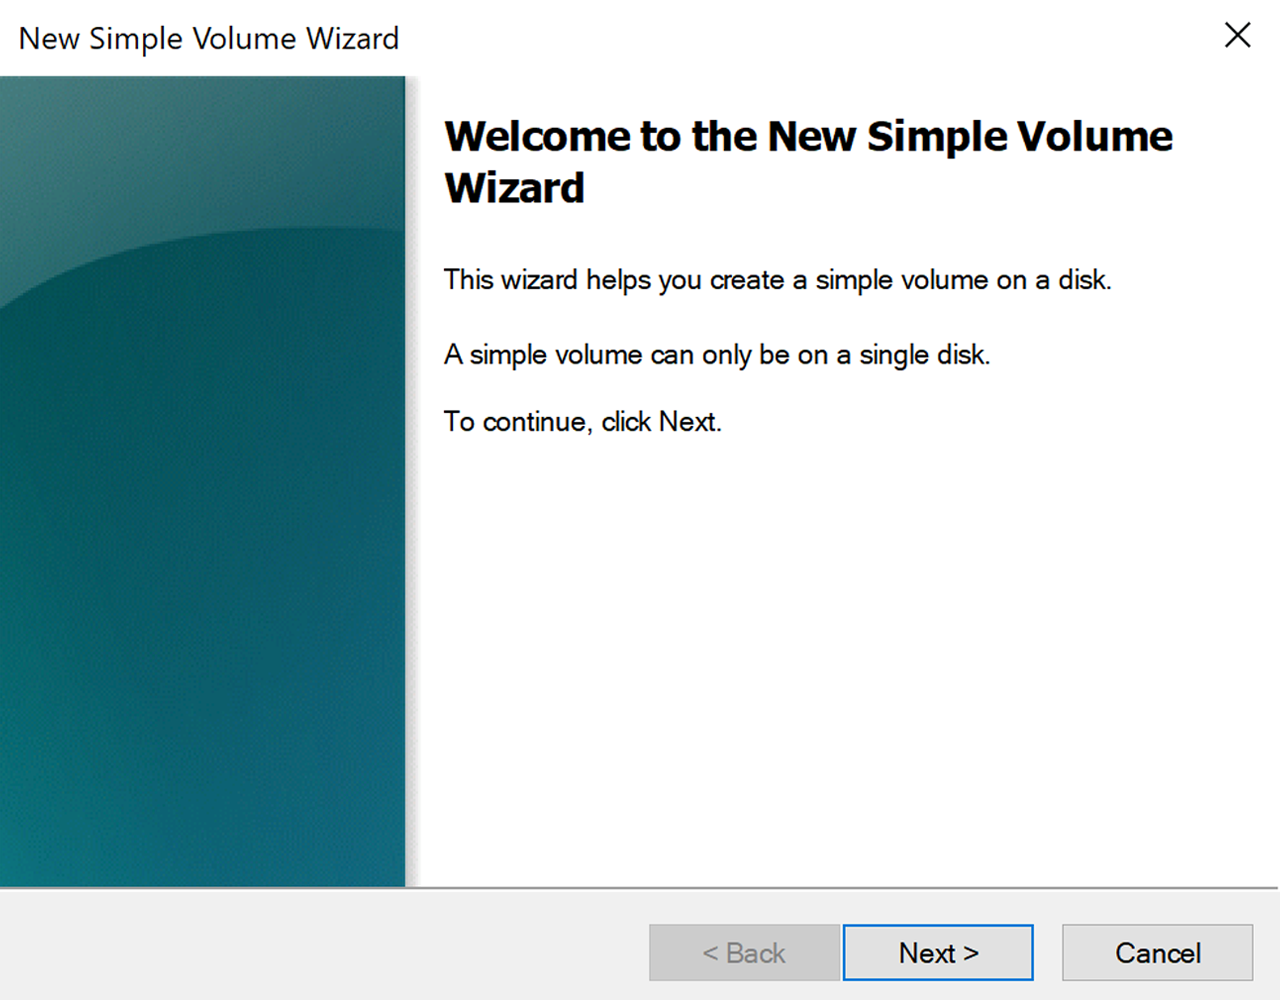
5. Click Next in the New Simple Volume Wizard dialog box.
-
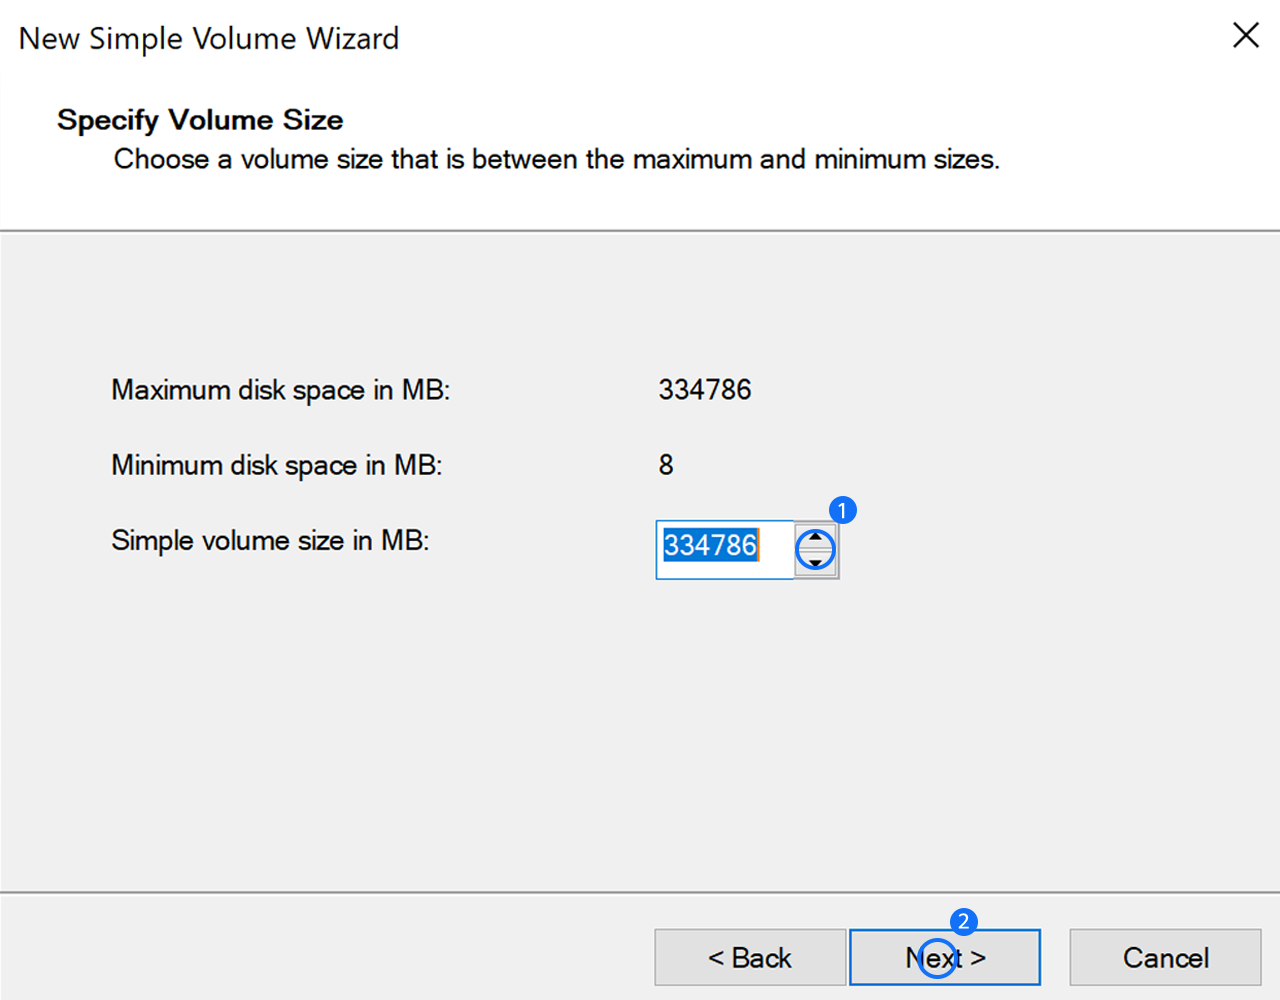
6. Enter the volume size you want to create in Simple volume size in MB, and click Next.
-
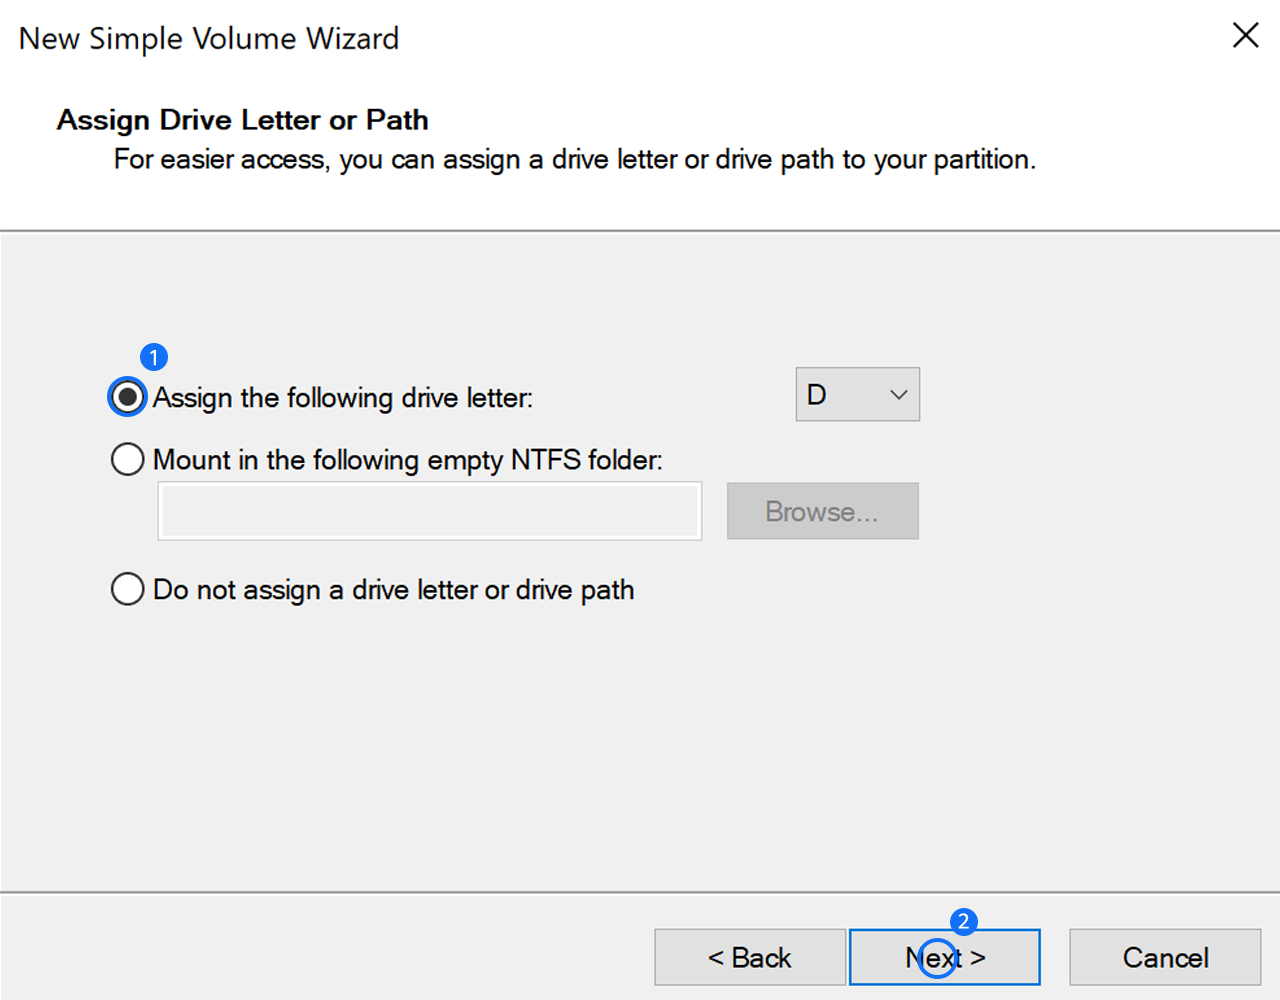
7. Select your desired drive letter from the drop-down box for Assign the following drive letter. Click Next.
-
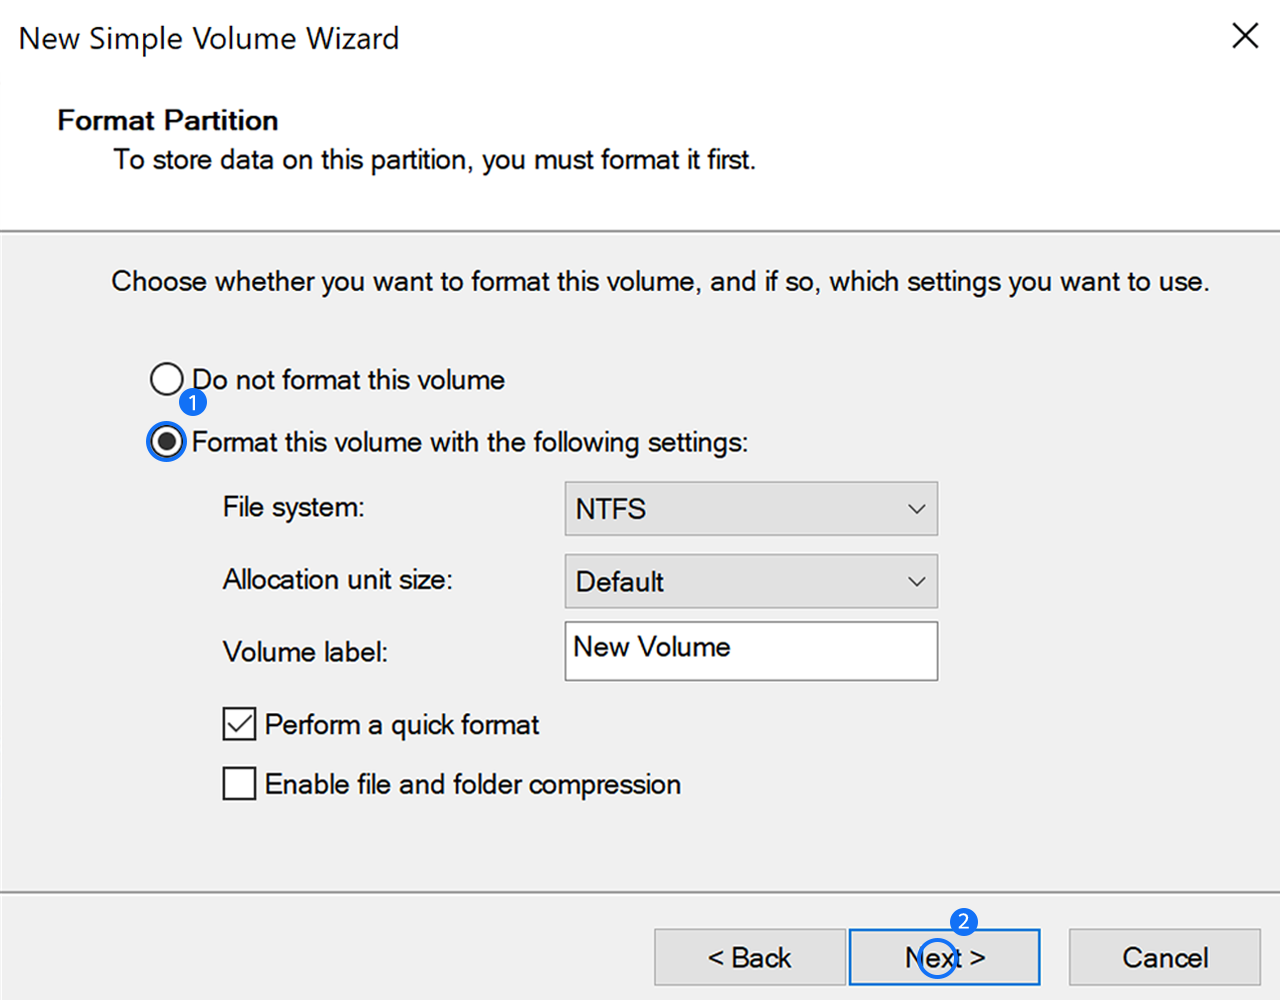
8. Select a specific file system. NTFS is selected by default. Click Next.

-
9. Click Finish.
Delete a partition on hard drive:
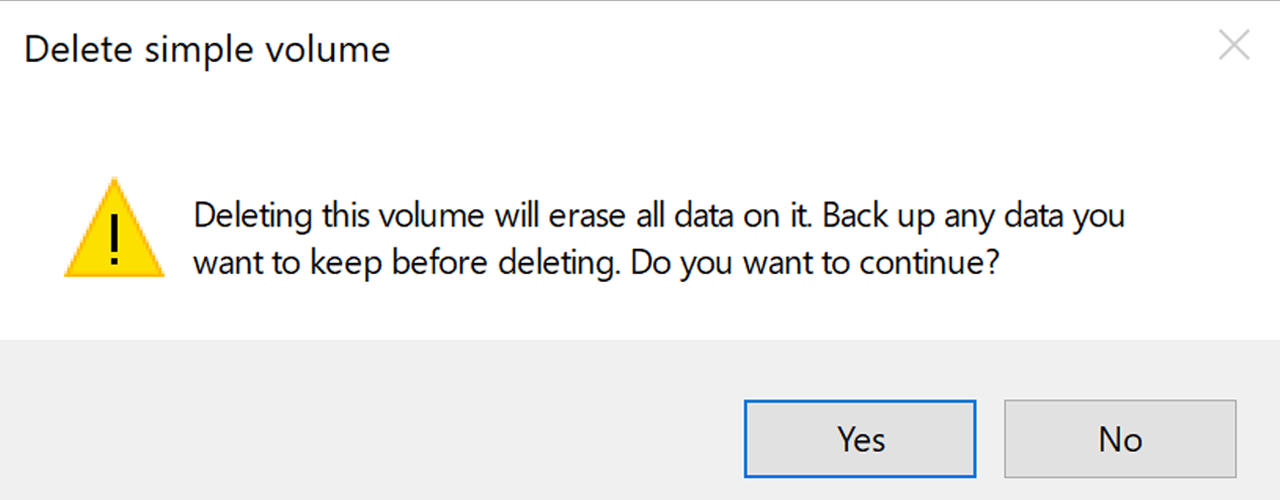
* Once you delete a partition, all data on it will be erased. Back up important data before performing this action.
* Deleting hidden partition will result in losing certain functions in your computer. For example, once you delete recovery partition on your computer, you will be unable to use the F10 system restore function.
-
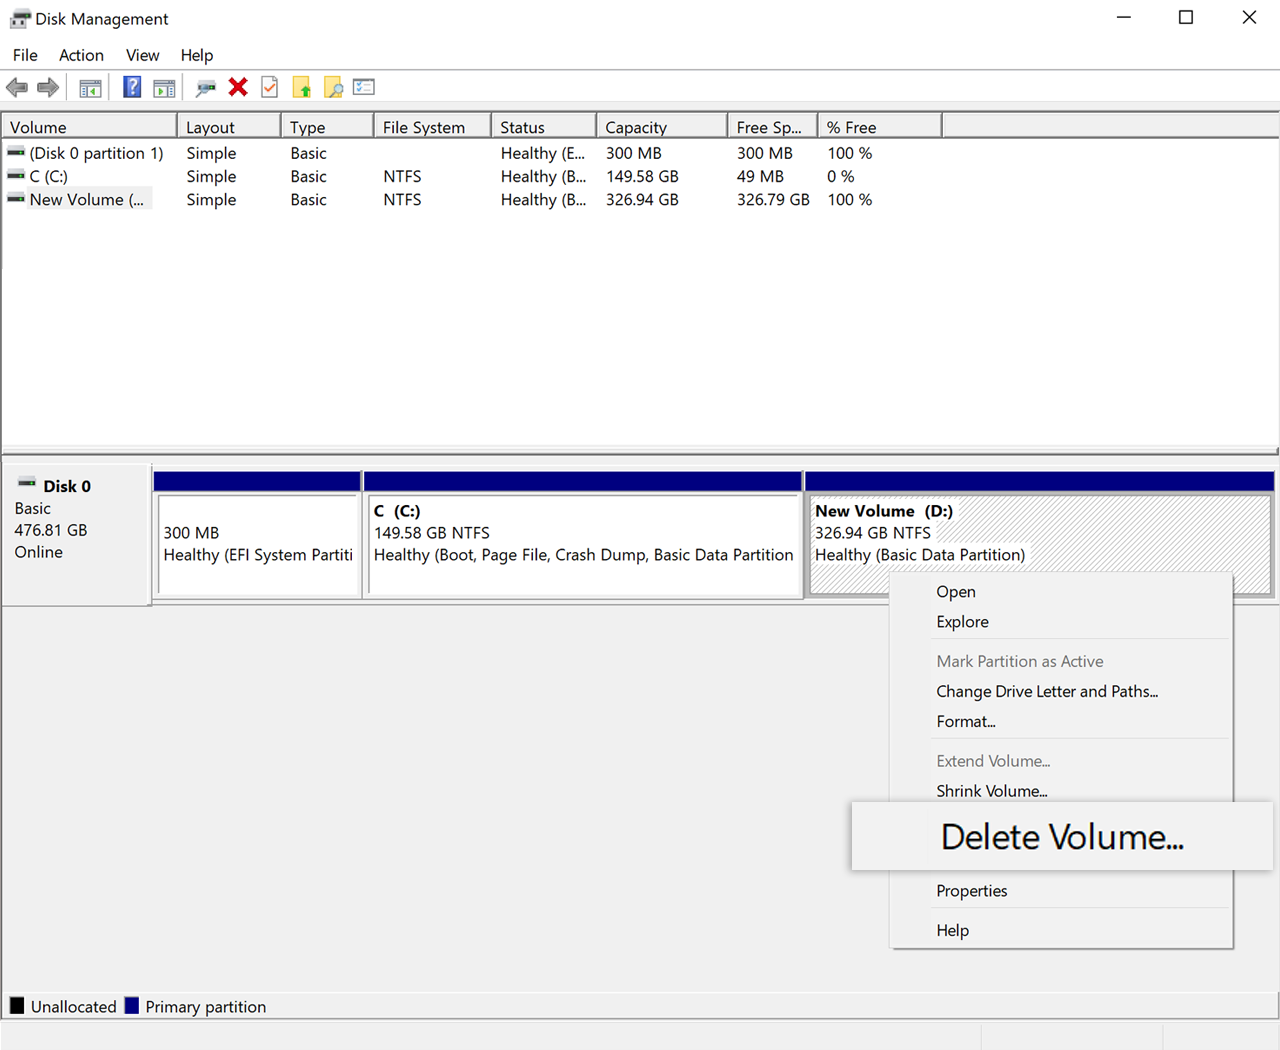
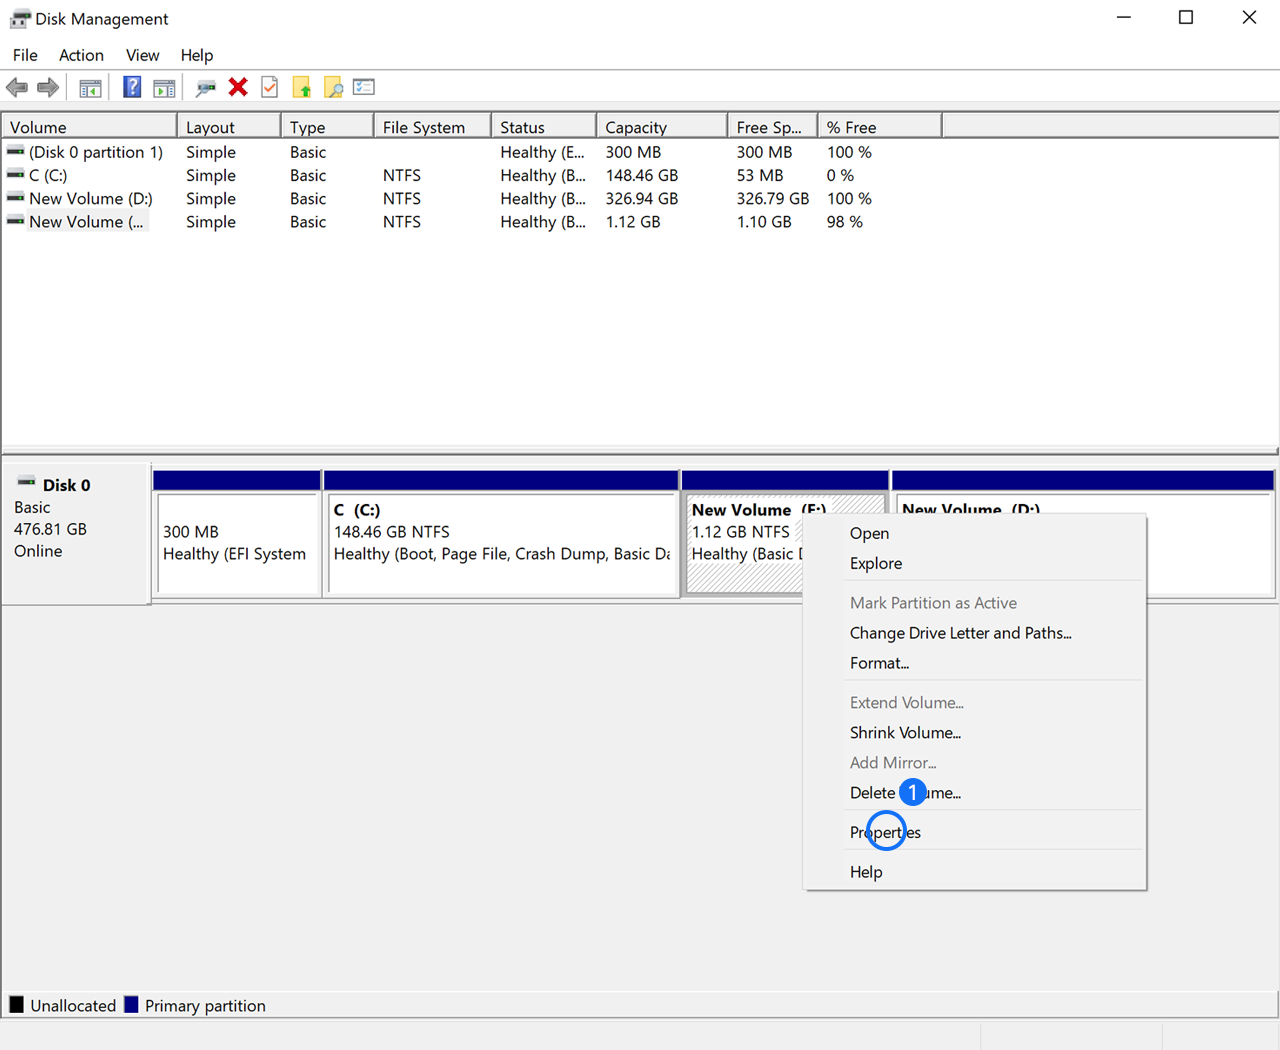
1. Right-click the partition you want to delete and click Delete Volume.
-
2. Click Yes.
-
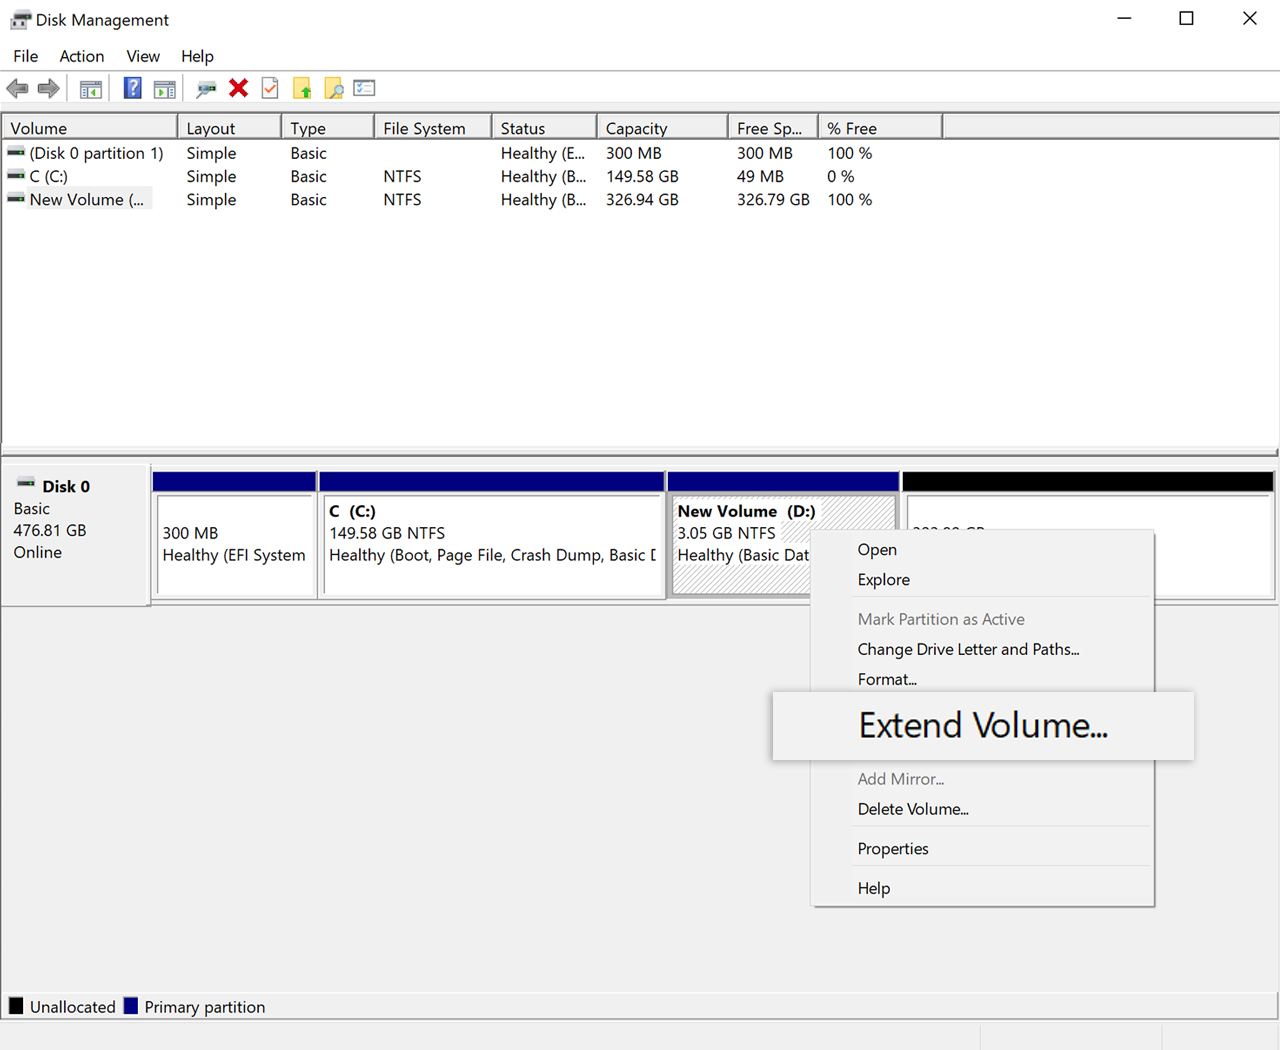
3. An unallocated partition will be displayed after you delete a partition. Right-click the partition before Unallocated and click Extend Volume.
-
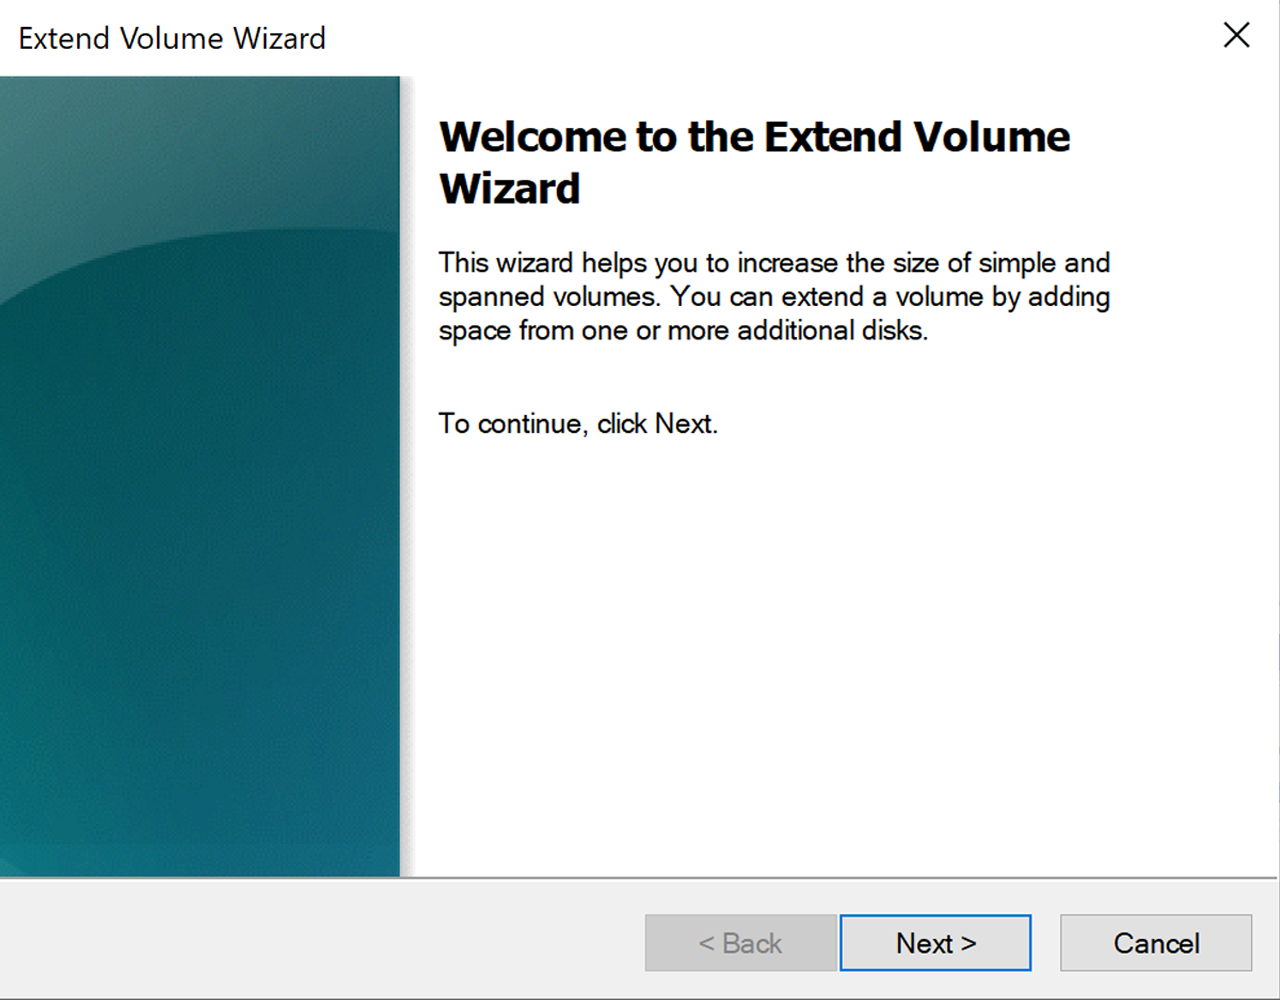
4. Click Next in the pop-up Extend Volume Wizard dialog box.
-
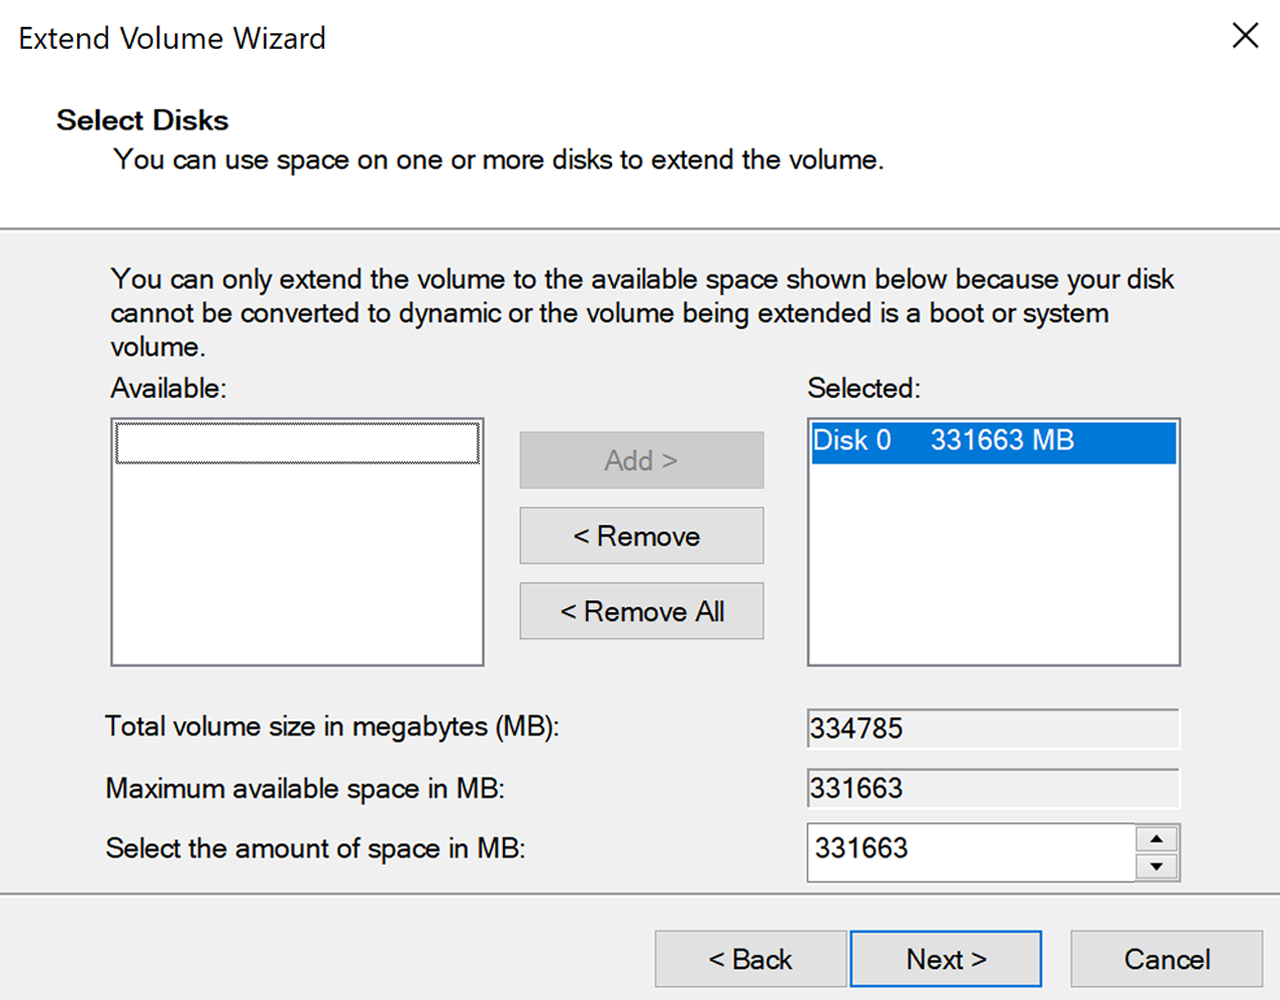
5. Click Next.
-
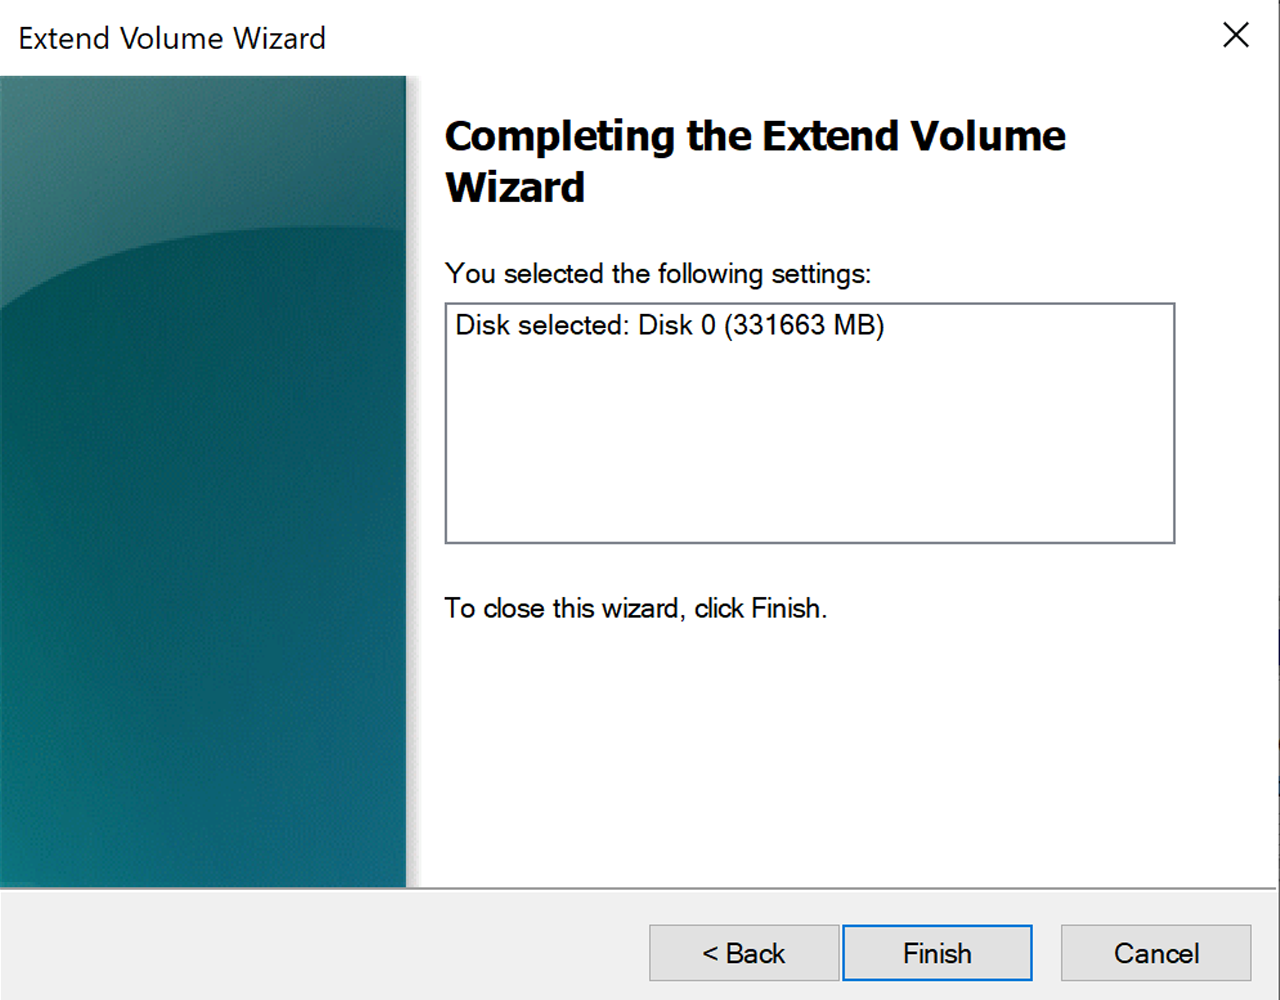
6. Click Finish.
Extend volume for C drive
* The following operations apply to computers with SSD only. If your computer has both SSD and HDD, you cannot extend volume in C drive by merging D drive with C drive. To ensure that your C drive has sufficient space, clear data in C drive regularly and install software in other drives.
If you want to extend space in C drive, merge C drive and D drive, and then reallocate disk partition for both drives. To do this, perform the following:
-
1. Back up data in D drive to C drive or an external storage device such as a portable hard drive.
* Back up data before merging both drives to avoid data loss.

-
2. Right-click the Windows
on the desktop and click Disk Management.

-
3. Right-click on Data (D:) and select Delete Volume, and click Yes. An unallocated partition will be displayed. Right-click Windows (C:) and select Extend Volume. Extend C drive by following the onscreen instructions. Now, data that originally in D drive has been combined to C drive.
-
4. Right-click Windows (C:) and select Shrink Volume. Enter desired volume size for the new partition in Enter the amount of space to shrink in MB. Right-click any blank area on Unallocated and select New Simple Volume, and then create a new partition by completing the onscreen instructions. Assign the letter D for the new drive.